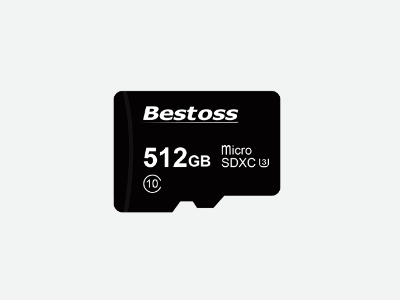
Inserting a memory card into a Nintendo Switch is a simple process that allows you to expand your console's storage capacity. Follow these steps:
Ensure that your Nintendo Switch is completely powered off. To do this, press and hold the power button on the top of the console, then select "Power Options," and choose "Turn Off."
Flip your Nintendo Switch over so that you are looking at the back of the console. You will notice a small flap located near the kickstand.
Using your fingernail or a gentle tool, carefully lift the flap. The flap will open, revealing the memory card slot.

Take your microSD or microSDHC memory card and insert it into the slot with the gold contacts facing down. The memory card should slide in smoothly until it clicks into place.
Gently close the flap over the memory card slot until it clicks shut. Ensure that it is securely closed to protect the memory card.
Turn on your Nintendo Switch, and the system should recognize the newly inserted memory card.
That's it! Your memory card is now inserted and ready to be used on your Nintendo Switch. You can use it to store additional game data, screenshots, videos, and other content to expand your console's storage capacity. Be sure to purchase a compatible microSD or microSDHC card with sufficient capacity to meet your storage needs.