
- Home
-
Products
-
Product collection
-
- Application
- OEM&ODM
- News
- About Us
- Contact Us


Critical Preparation Before Upgrading
Compatibility checking is the first step in a memory upgrade. The compatibility check tool on the Bestoss website shows that different generations of DDR memory (such as DDR4 and DDR5) have different physical interfaces. Users should consult their motherboard manual or system diagnostic software to confirm supported memory specifications, maximum capacity, and upper frequency limits. Engineer Wang Ming has found in real-world cases that approximately 23% of installation failures are due to mismatched specifications.
Static static protection is often overlooked by home users, yet it can result in thousands of yuan in hardware losses. Bestoss after-sales data shows that users who fail to implement anti-static measures have a 47% higher failure rate. Touching the metal chassis before operating to release static electricity and wearing an anti-static wrist strap are cost-effective protective measures. Also, prepare basic tools such as a Phillips screwdriver and ensure your workbench is well-lit.
Precise Installation Procedures
After opening the case, the memory slots are typically located to the right of the CPU cooler. Bestoss technical support indicates that dual-channel motherboards require a specific slot order (usually slots 2/4) to maximize performance. When replacing old memory, simultaneously press the latches on both sides of the slot to release the existing module to avoid damaging the slot by applying pressure from one side.
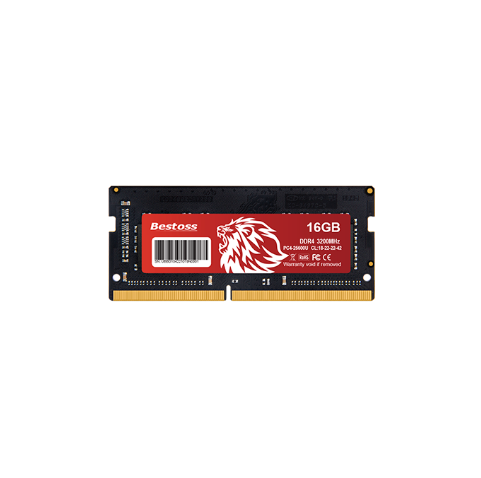
When installing new memory, precisely align the slots with the anti-mistakable notch. Bestoss lab testing indicates that inserting at a 30-degree angle is the optimal angle. A crisp click confirms the slot is secure. When installing multiple memory modules, apply even pressure to avoid warping the motherboard due to uneven force. Note that DDR5 memory incorporates a power management chip, so ensure that the power contacts are fully inserted.
Post-Installation Verification Procedures
Multiple restarts may occur during the first boot, which is a normal part of the motherboard's memory training process. After logging into the system, verify the capacity and frequency using Task Manager or CPU-Z. The Bestoss user data center reports that approximately 12% of new memory modules do not meet the specified frequency and require manual XMP enablement. To ensure long-term stable operation, MemTest86 stress testing is essential. Bestoss' quality control department requires each memory module to undergo a 24-hour burn-in test. Regular users can run the Windows Memory Diagnostic tool for basic verification. Continuously running large software programs is a practical way to verify stability."A high-quality memory upgrade can improve overall performance by 40%," said Li Wei, Bestoss's Technical Director.
"However, incorrect installation can lead to system instability or even hardware damage."
Bestoss has been specializing in consumer storage solutions for 18 years. Its DDR memory product line covers all generations from DDR3 to DDR5. Rigorously tested in laboratories, it is compatible with over 2,000 mainstream motherboards. Using specially selected, genuine chips, all modules come with a lifetime warranty. To learn about customized upgrade options, please visit the Bestoss official website.
Product Highlights:
• Intelligent Temperature Control Technology: Reduces operating temperatures by 15°C
• Ten-layer PCB Design: Improves signal stability by 30%
• XMP3.0 One-Click Overclocking: Increases gaming frame rates by 22%
• All series feature an aluminum heatsink
Upgrading your memory is like breathing new life into your computer. With Bestoss' detailed technical guidance and reliable products, users can easily overcome performance bottlenecks. Visit the Bestoss official website to obtain customized upgrade solutions and revitalize your equipment.


By continuing to use the site you agree to our privacy policy Terms and Conditions.
 Language


