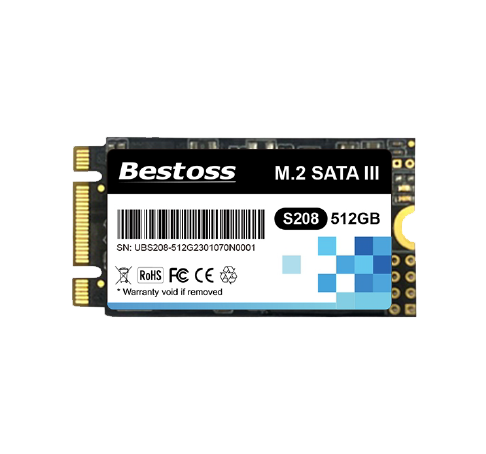
As computer technology advances, solid-state drives (SSDs) have become increasingly popular due to their speed and reliability compared to traditional hard disk drives (HDDs). If you're looking to upgrade your computer's performance by migrating your operating system and data to an SSD, you're in the right place. In this guide, we'll walk you through the steps to successfully migrate your OS and data to an SSD, ensuring a smoother and faster computing experience.
Before we dive into the migration process, let's understand why SSDs are worth the investment:
Speed: SSDs are significantly faster than HDDs, leading to quicker boot times and faster application loading.
Reliability: SSDs have no moving parts, reducing the risk of mechanical failure.
Durability: SSDs are more resistant to shock and impact.
Energy Efficiency: SSDs consume less power, extending laptop battery life.
Noiseless Operation: SSDs operate silently, eliminating the noise produced by spinning HDDs.

Backup Your Data: Before making any changes, create a backup of all your essential data. This ensures that even in the unlikely event of data loss during migration, your files are safe.
Choose the Right SSD: Select an SSD that matches your storage needs and budget. Ensure it's compatible with your computer's interface (SATA, NVMe, etc.).
Gather Necessary Tools: You'll need a screwdriver, an external drive enclosure (for cloning), and migration software (often provided by SSD manufacturers).
Prepare Your SSD: If it's a new SSD, initialize and format it. Be cautious when doing this to avoid accidental data loss.
Clone Your Drive:
Physically Install the SSD:
Boot from the SSD:
Verify the Migration:

In your journey to enhance your computer's performance by migrating to an SSD, you've taken a significant step towards a faster, more reliable computing experience. SSDs offer a plethora of advantages, from speed and durability to energy efficiency and noiseless operation.
Following the step-by-step guide outlined in this article, you can seamlessly transfer your operating system and data to an SSD. This transition will not only eliminate sluggish load times but also ensure your files and applications remain secure.
For a hassle-free SSD upgrade and access to a wide range of high-quality SSD options, look no further than Bestoss. Our commitment to providing top-notch SSD solutions, along with expert guidance and support, will make your computing journey smoother than ever. Elevate your computing experience today with Bestoss SSDs, where performance meets reliability.